Friday 29 November 2013

DIY Curtains - Part 3

FINISHED!

I now have 6 lovingly hand made VERY bright curtains. Took a while to get them finished as we had a weekend in Paris (pics and post will appear as soon as I get my camera back from Kat).

Curtain stack
Ok when I said finished, I actually meant the bulk of the work has been done and I'm now on to the finishing touches. These will include handy poppers on the tailgate curtains to keep them closed while we are snoozing (an upgrade from safety pins) and also some new curtain ties.

Keeping things as simple as possible for the curtains ties I just used the old ones as a template.
Lovely colour comparison here :-)
Drew round the old curtain tie, added a bit for seams then sewed along 3 sides with the fabric inside out.


Then turned it the right way round, ironed it flat and folded in the last edge to make it nice and neat. Then next step was to add some kind of fastening mechanism. The old curtains were attached to the van at one end and had a popper on the other end so they could loop round. I have gone for a slightly cheaper version and just used poppers to close the loop. I will attach the middle of the tie to the van (or maybe one end, not yet decided) to keep the curtains tamed while we are bouncing around the countryside :P

2nd time lucky, I sewed them on back to front the first time
Anyway, should be putting them in the van this weekend so will add photos of the van looking pretty and bright!

In other news, wood working has been happening. Tom has gleefully purchased himself a power tool. Can't give out too many details as it's going to be used for Christmas presents but I am allowed to post the pic of me messing around with it.

I'm wearing safety goggles....normally seen in the pool

First attempt at something

Thursday 14 November 2013

DIY Curtains - Part 2

Last night I finally got round to doing some more work on the curtains. Over the weekend I had finished hemming all the sides and bottoms of all the curtains but had to stop as I had no pins!
The bottom and side hems are very simple, just fabric folded over then folded over again. The corners are just square, no fancy bits. I ironed everything to keep the hems flat and neat. Did have a little problem with the fabric shifting slightly as it wasn't pinned it ended up looking surprisingly neat, if I do say so myself!

Simple hems
So once I had taken delivery of some pins from my little sister (thanks Sarah), it was time to get round to pinning on the curtain tape. I bought mine from Ikea at the same time as the fabric and then cut it in half to double the distance. This did give me some slightly raggedy edges but managed to keep them fairly intact.

Ironing the hems
As described in an earlier post, the top hem is double the size of the other hems to accommodate the curtain tape. I started off using my handy tape measure but soon was confident enough to fold the hem by eye. Luckily this worked.

First pin, first injury!

The curtain tape consists of two bits, the loops to attach your curtains hooks and the drawstring to create your ruffles. Should point out here, after looking at the final curtains, I think it would have been better to have put these on the other way up (you will see what I mean in later pictures).

All pinned and ready to sew
I managed to pin the entire length with only once pricking my finger. I would say that's quite an achievement! Next step was sewing. As in some places the fabric was doubled over a few times, I ended up using the sewing machine manually to make sure the needle didn't get stuck. All in all it was very easy, the pins even stopped any fabric slipping (should have used them before really).

Sew, sew, sew.
Should point out that this isn't my sewing machine, it's been borrowed off my granddad (Thanks Opa).

And finally, the moment you have all been waiting for....

The finished curtain! 

(yes I have only done one so far, and it was the smallest but hey)

Should brighten up the van a little

And yes they even have pleats
 As you can see in the final picture, the pleats are pretty close to the top. In the rest of the curtains I am going to flip the curtain tape so they are a bit lower down.

Anyway one down, five to go. 

Monday 11 November 2013

This weekend I got my first flash!

Yup first time getting flashed and waved at by another VW driver :-) It happened to be a nice lady in a silver T5. It may have been a pitying wave. I would have tried to flash back but I still have issues finding things in the van.

Was back home at the weekend with the idea of sorting out the rust on the van and doing some insulating. Unfortunately the rust that we did find was a fair bit worse that expected. Treated both foot wells in the cab, might have accidentally put my finger through an unsuspecting patch on the passenger side but luckily it was a very tiny hole. Discovered both front door were rotted out at the bottom, which I am guessing means the windows are leaky. But anyway, treated the rust I could see then got the Father to give the patches a quick coat of white spray paint before it started hailing. Yup hailing. Welcome to winter.

In other news it was the first time Kat was able to ride in the van, think she enjoyed it given the grin on her face! Also for anyone from Sandbach, we managed 55mph on the speedo before the bridge on the by pass. And Dougie didn't sound like he was about to blow up, which is a plus. It is also pretty handy driving round with a tool box in the back, got to Mums house and had to utilise the 'Gear stick correction device' aka adjustable spanner, in fixing her toilet.

 Sadly didn't take many photos this weekend and the ones I did aren't uploading! But I did find the video Tom took of me the first time we went camping. Notice the camera shake.


Thursday 7 November 2013

DIY Curtains - Part 1a

This isn't a proper post. No this is me being a little bit proud that I have used a sewing machine!
Not only did I test out all the stitches, I made Alex a small and pointless pillowcase (it was approximately wallet sized) and I made a present for the kitchen.

If you squint, that line is straight. Honest.

Who needs a working boiler....I HAVE A DRAFT EXCLUDER SNAKE THINGY! Pretty much just a tube of left over fabric stuffed with plastic bags (these may get upgraded to rice or something similar). It does actually make quite a bit of difference.

Excluding drafts
So I am now happy to tackle the curtains. Need to purchase some pins first and acquire an iron to get nice straight hems but other than that am good to go.

Wednesday 6 November 2013

DIY Curtains - Part 1

It's cold. No, I mean really cold. It's the inside cold. The inside cold that means the boiler is broke.
(This is not actually that surprising as 2 weeks ago there were plants growing out of it)

In an effort to stave off hyperthermia I finally worked up the courage to start working some home-made curtains to brighten up Dougies rather grey interior.

Last night was spent trawling websites for custom curtain measurements, asking my dad obscure questions about the length of things in the van and making myself pretty pictures on the computer to try and make all the curtains come out of the 7m x 1.5m bit of fabric I had already bought.

Top tip 1 - Work out how much fabric you need before you buy it!

Yes I know I should have done this but hey, it was an impromptu Ikea trip. Took some minor adjustment to fit everything in, but I had intended to alter the length of the tail gate curtains anyway so it was OK.
The easiest way I found to fit everything on was a scale model in powerpoint.

Scale plan of fabric (red) and curtains (blue).

Make sure you add the hems, again here was somewhere I managed to save some fabric.Instead of having a wide hem on the top and bottom, just put one one the top. The numbers in brackets on the diagram are the actual curtain size and the other numbers are the actual size I cut.

Hems. Both for the curtains and of my PJs
OK so once i was reasonably sure that everything would measure up, I started drawing out the first set of curtains. Went for the biggest first but I'm pretty sure you could start anywhere.

Top tip 2 - Measure twice, cut once.

Do as it says. I actually followed this one and picked up on what could have been some pretty dodgy mistakes.

Top tip 3 - Find yourself a large, bright space where you have enough room to lay out the fabric flat.

Unfortunately I didn't follow my own advice and was trying to do this in my lovely dark and sloped roof attic room. And after spending a lot of time on my hands and knees (thanks roof) I can advise a softer floor as well. Never the less, got the curtains cut without too much hassle.

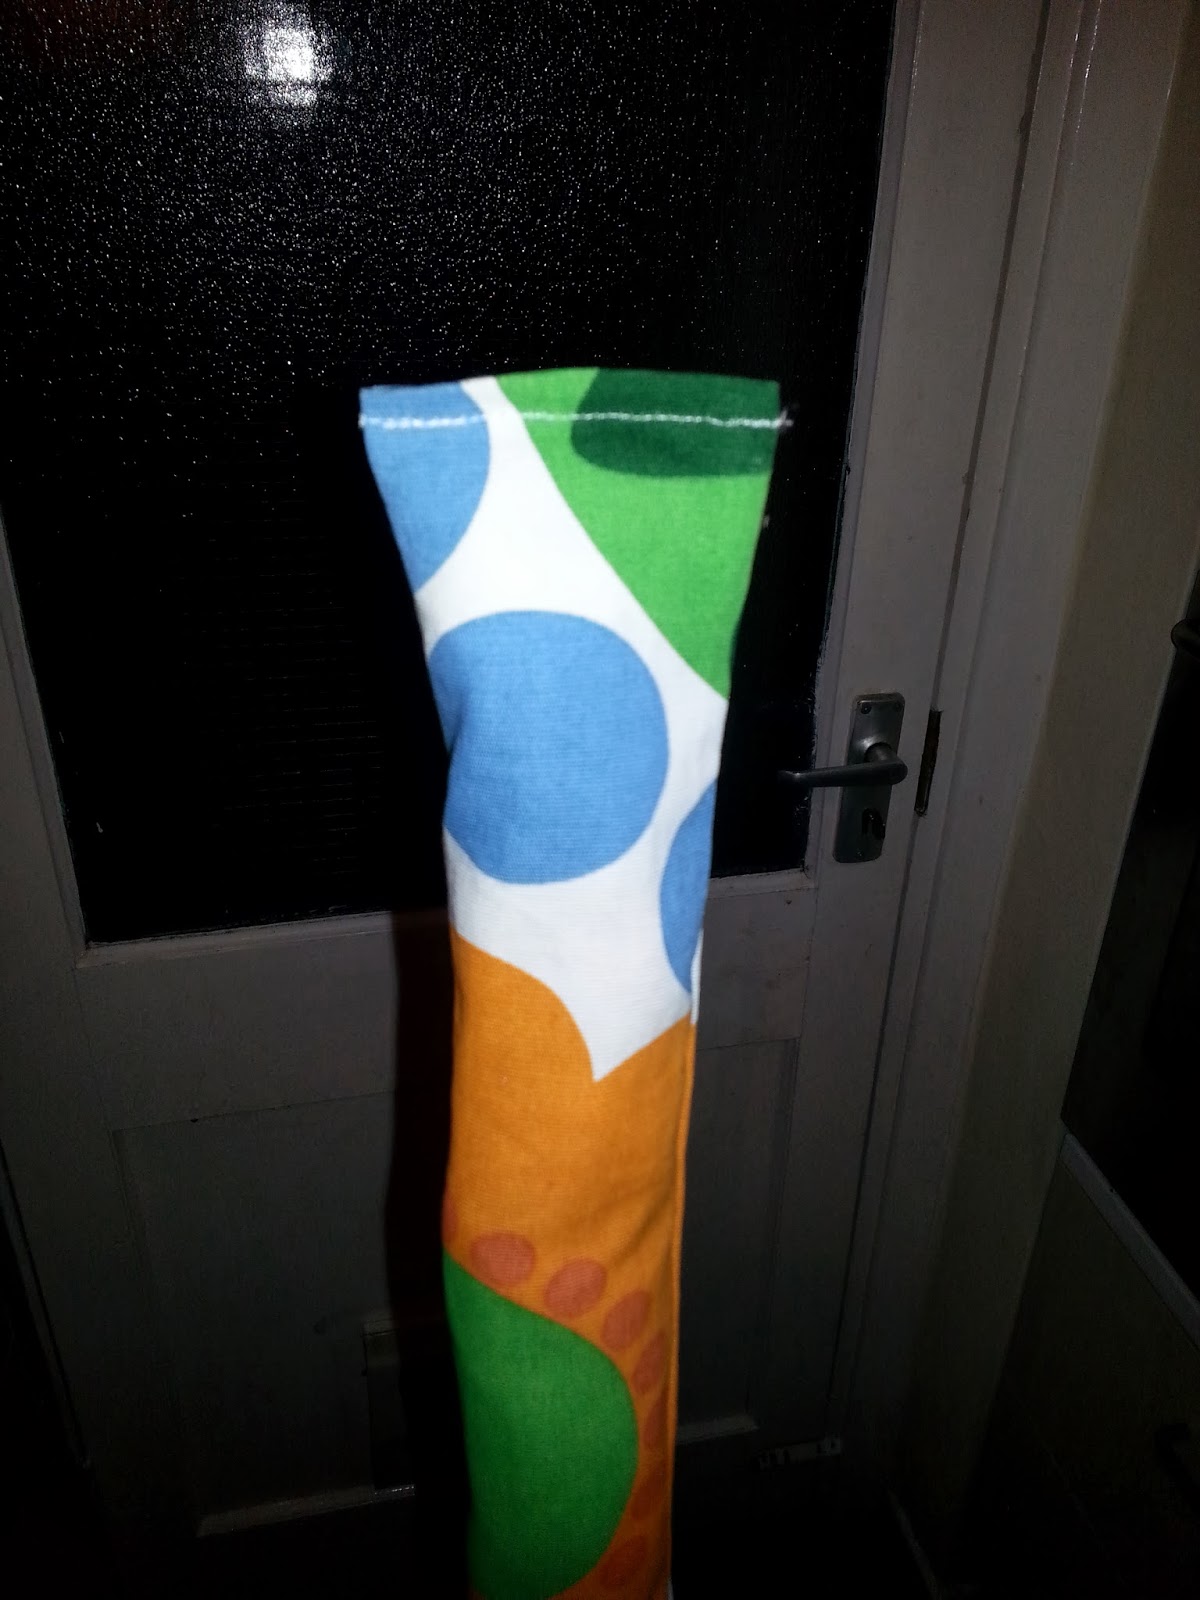
One of the biggest curtains for the front cab area

Top tip 4 - Use the right tools

I didn't. Sadly we didn't have any scissors in the house that were sharp enough to cut tissue paper, let alone quite sturdy fabric. Luckily my trusty pen knife came to the rescue! Yes some of the edges are a little rough, and it too AGES but it worked. Also when measuring things like this I imagine a meter ruler and a friend might help. I used a tape measure. It behaved like an agitated snake and was pretty useless when it came to drawing across. Took some gentle encouragement (I stood on it) to make it stay still long enough to use as straight edge.

Finally, once you have all your curtains cut, fold them neatly so you can stick a photo on your blog and enjoy the fact that your room is permeated by the smell of Ikea candles.

Success! Sink curtain, 2 for the tail gate and 3 for the front and sliding door

The next step is to start arranging the hems and practicing sewing. Hopefully i can find an iron somewhere.

Friday 1 November 2013

Garage update

Have to apologies now; this is going to be another blog post with no relevant pictures.
But it does have proper update on Dougie’s first trip to the garage. Not going to lie, I was worried. I was especially worried when Dougie disappeared from the driveway on Tuesday and nothing was heard from the mechanic for a week! My dad telling me he might have been stolen at the weekend didn’t help. Git.

But I can now present the list of things that have been fixed!!

  • Full re-wire of the front wiring loom. So the dodgy light/radio connection mystery was solved. At some point things appeared to have got a little heated up front (think ‘oh dear, but it was only a little fire). Given the horror stories I had read on Club80-90, I can now say that there is a much lower chance of Dougie doing an impression of a bonfire. This rewire has made the light independent of the radio, re-lit the speedo and rumour has it now the heating even works….
  • Oil leak in engine fixed. Ok this is a second hand description but I will do my best, cam belt oil seal had been leaking. This is now fixed and the cam bet replaced. One less thing to worry about!
  • Rust situation. It’s not good but the van isn't going to fall to bits anytime soon. The underneath is sound and the body work isn't bad enough to need replacing (yet). So there will soon be a rust repairing session occurring. The idea is to treat the current patches of body work to slow the rust over the winter then think about something more permanent in the spring/summer. Sliding door is still functional and will get some wirewool TLC and grease.
  • Steering column. This was loose. Very loose. But not anymore!


So now he has a clean bill of health for the winter J

Next steps are concentrating on the interior. I have already heard rumours of a cold winter and snow in Scotland. Time to get insulating I think!


In the mean time here is a photo of my science themed fancy dress. I am GFP (green fluorescence protein) producing jellyfish Aequorea Victoria. Yup geeky and my namesake.